Importing Images from “Hot Folders”
Creating an off-cloud network workgroup image repository, courtesy of Photos, Automator, and Folder Actions.
“Hot folders” are a very useful tool for developing an image library whose contents are derived from the contributions of team members connected by a local network.
“Hot folders” can be network-mounted share points (folders) such as the Drop Box folder located in the Public folder of your Home folder, or they can be local directories on your computer, such as the Downloads folder. When items are copied into a “Hot folder”, specified actions automatically occur.
In OS X, “Hot folder” functionality is provided through the “Folder Actions” feature that enables any folder to trigger the execution of specified Automator workflows when files or folders are added to then.
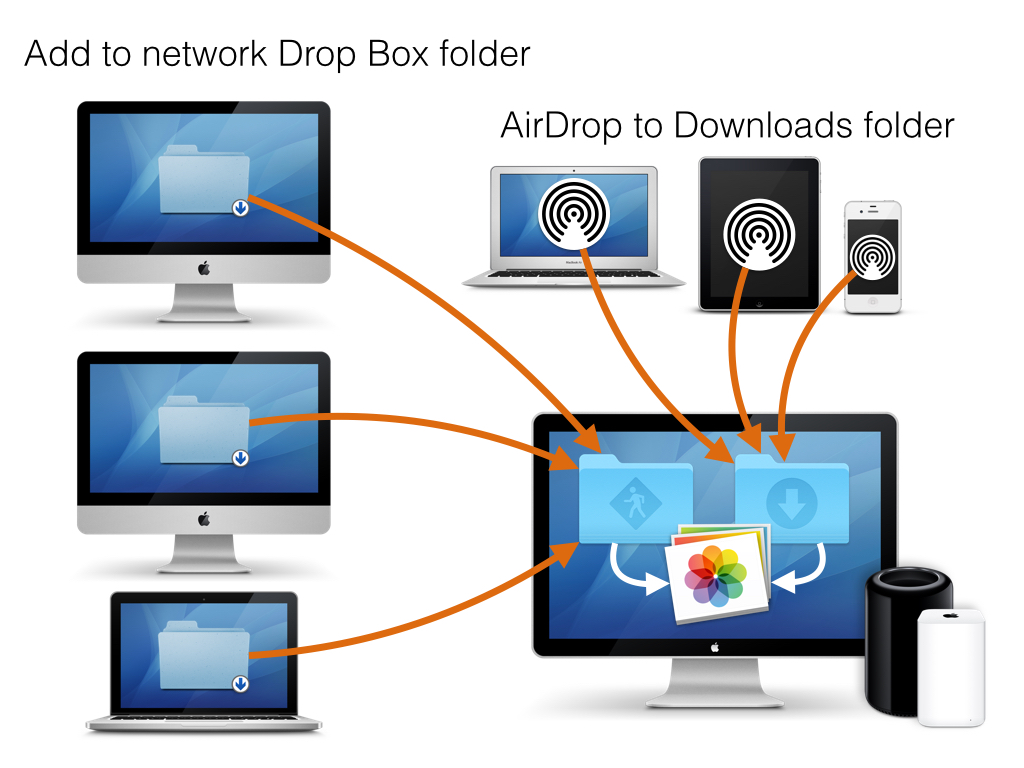
As an example, the following steps detail how to create a Folder Action workflow that will automatically import images into Photos when:
- they are placed in the host computer’s network-visible public Drop Box folder, or…
- are copied to the host computer’s Downloads folder during an AirDrop session initiated by a nearby iOS device or Mac.
This is a great example of how OS X enables workgroup productivity!
Preparation
Before creating and activating the workflows for importing from hot folders, there are a couple of things to do in preparation.
Create an Album
Add a new album to your Photos library for receiving photos from the created hot folder.
DO THIS ►Launch Photos and create a new top-level album named: Submitted Photos
Setup File Sharing
If you haven’t already, turn on access to your “Public” and “Drop Box” folders by following the steps outlined on this page.
Activate AirDrop
On the host computer, make sure that WiFi and Bluetooth are both active. Then, open a Finder window and select AirDrop in the window’s sidebar. The host computer will now be ready to receive files wirelessly from other devices.
Creating a Folder Actions Workflow
Step 1: Create a Folder Action Workflow
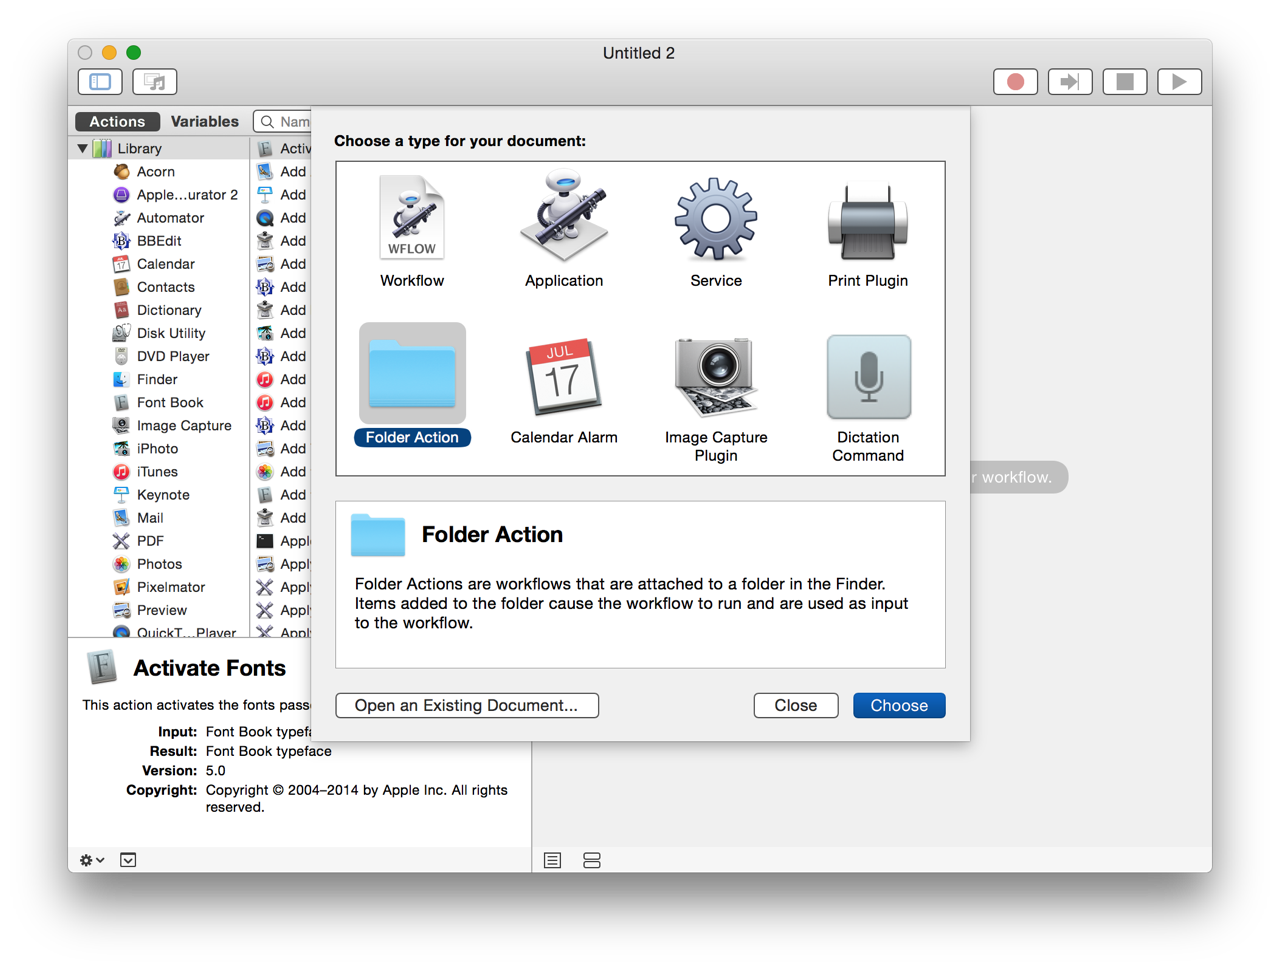
The Folder Actions feature is conveniently accessed from within the Automator application as a specialized workflow type. So, the first step in creating a hot folder is to create a Folders Action workflow in Automator.
DO THIS ►Launch the Automator application and create a new document by selecting New from the File menu. In the template chooser sheet, select Folder Action as the template type, and click the Choose button to close the sheet. (⬇ see below )
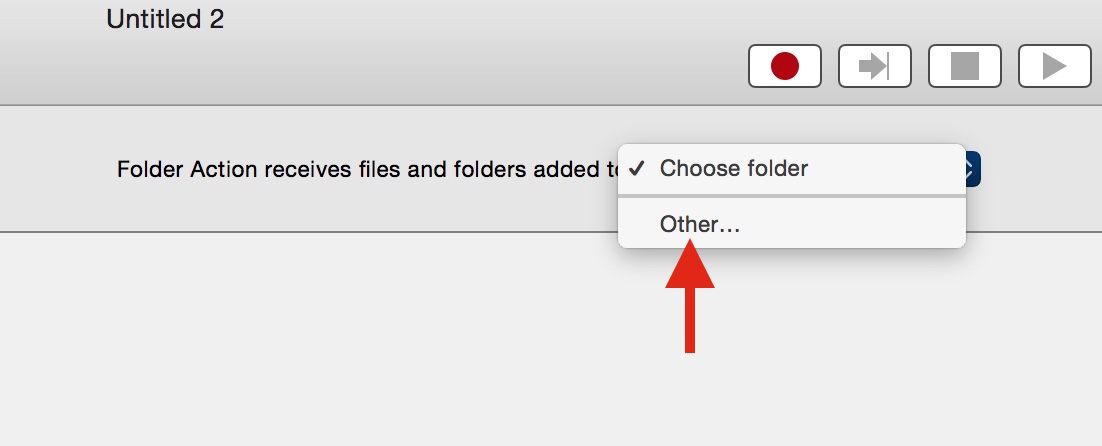
A new Folder Actions workflow document will be created. The next step is to indicate which folder is to be designated as the hot folder.
DO THIS ►At the top of workflow window is a popup menu for choosing the folder which will be attached by the workflow file. Select the Other… menu item from the popup menu. (⬇ see below )
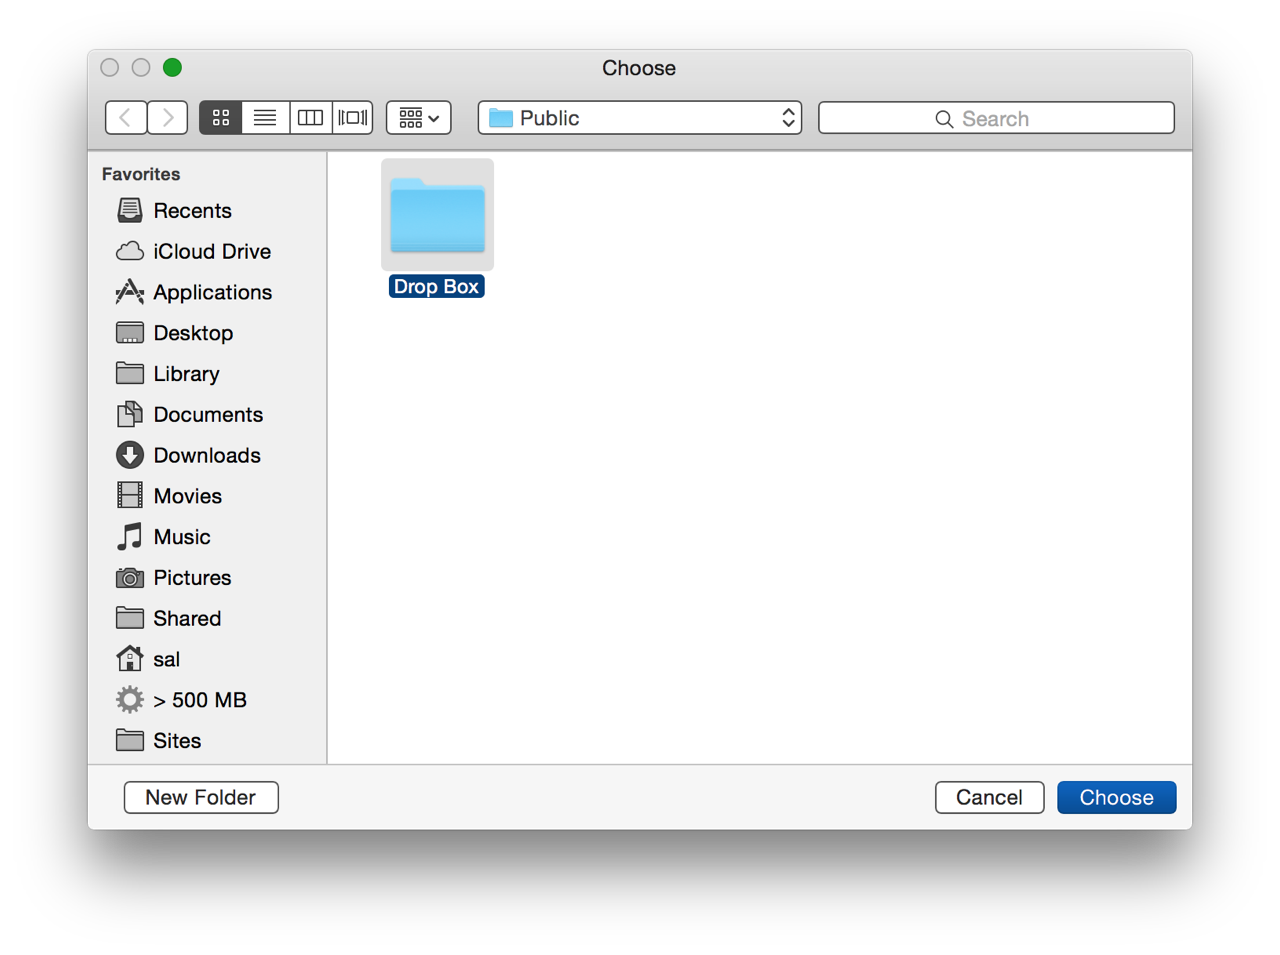
DO THIS ►In the forthcoming dialog, navigate to and select the folder that is to be the hot folder (Home > Public > Drop Box). Click the dialog’s Choose button to complete the selection process. (⬇ see below )
Step 2: Complete and Save the Workflow
The final step in creating the hot folder is to add the Automator action that will process the items placed into the hot folder.
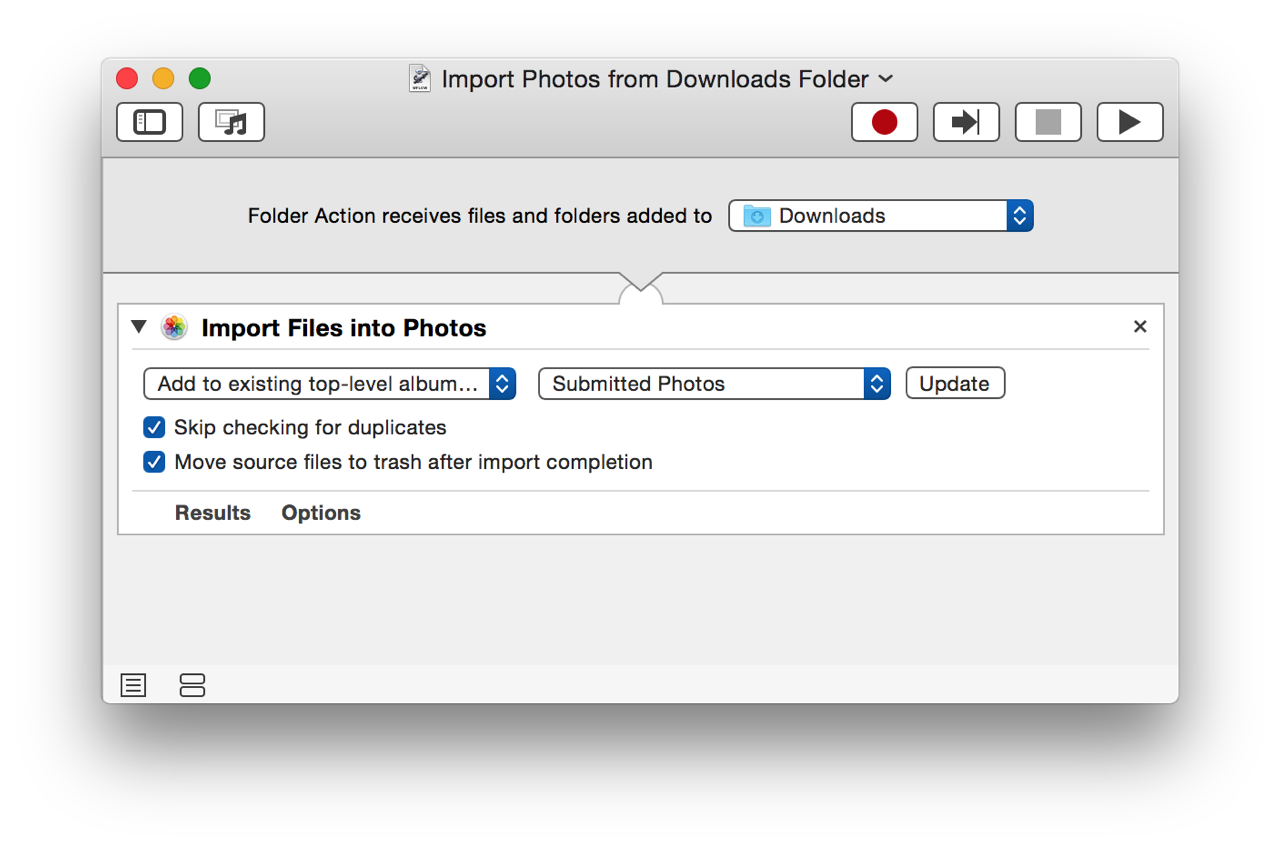
DO THIS ►The first action to add to the workflow will be one for importing image files into Photos. Locate and add the “Import Files into Photos” action to the end of the workflow.
Set the action parameters in the action view to 1) import into an existing album (the one you previously created), 2) skip checking for duplicates, and 3) to move the source files to the trash after completing the import.
(⬇ see below )

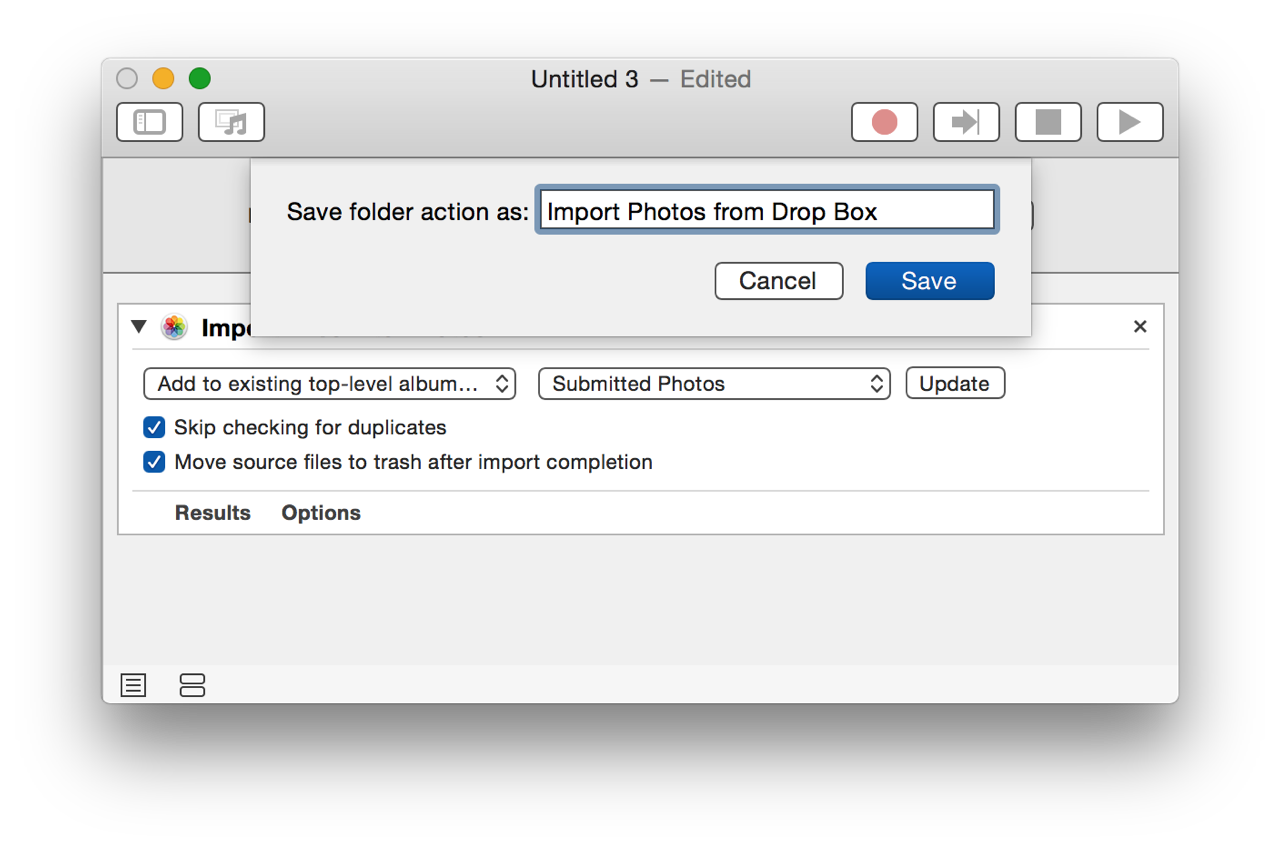
DO THIS ►The final step is save the workflow file and assign it a name. Select Save from the File menu and a naming sheet will appear in the workflow window. Enter a name for the workflow and click the “Save” button to complete. (⬇ see below )
The hot folder is now active and the workflow will be automatically executed whenever items are dropped into the host computer’s “Drop Box” folder, from other computers that have mounted the folder over the local network. This is workgroup collaboration in action!
Step 3: Create Another Folder Action Workflow
If you wish to be able to automatically import images transfered to your computer from nearby iOS devices via AirDrop, create a second workflow exactly the same as the previous one EXCEPT set the directory for the hot folder to be the Downloads folder located in your Home folder.
Transferring Photos
With the Folder Action workflows created and active, you are now ready to transfer image files to the Photos library on the shared computer.
Copy Using AirDrop
Image files can be transfered to the shared computer via AirDrop from either other Macs or from iOS devices such as iPads and iPhones.
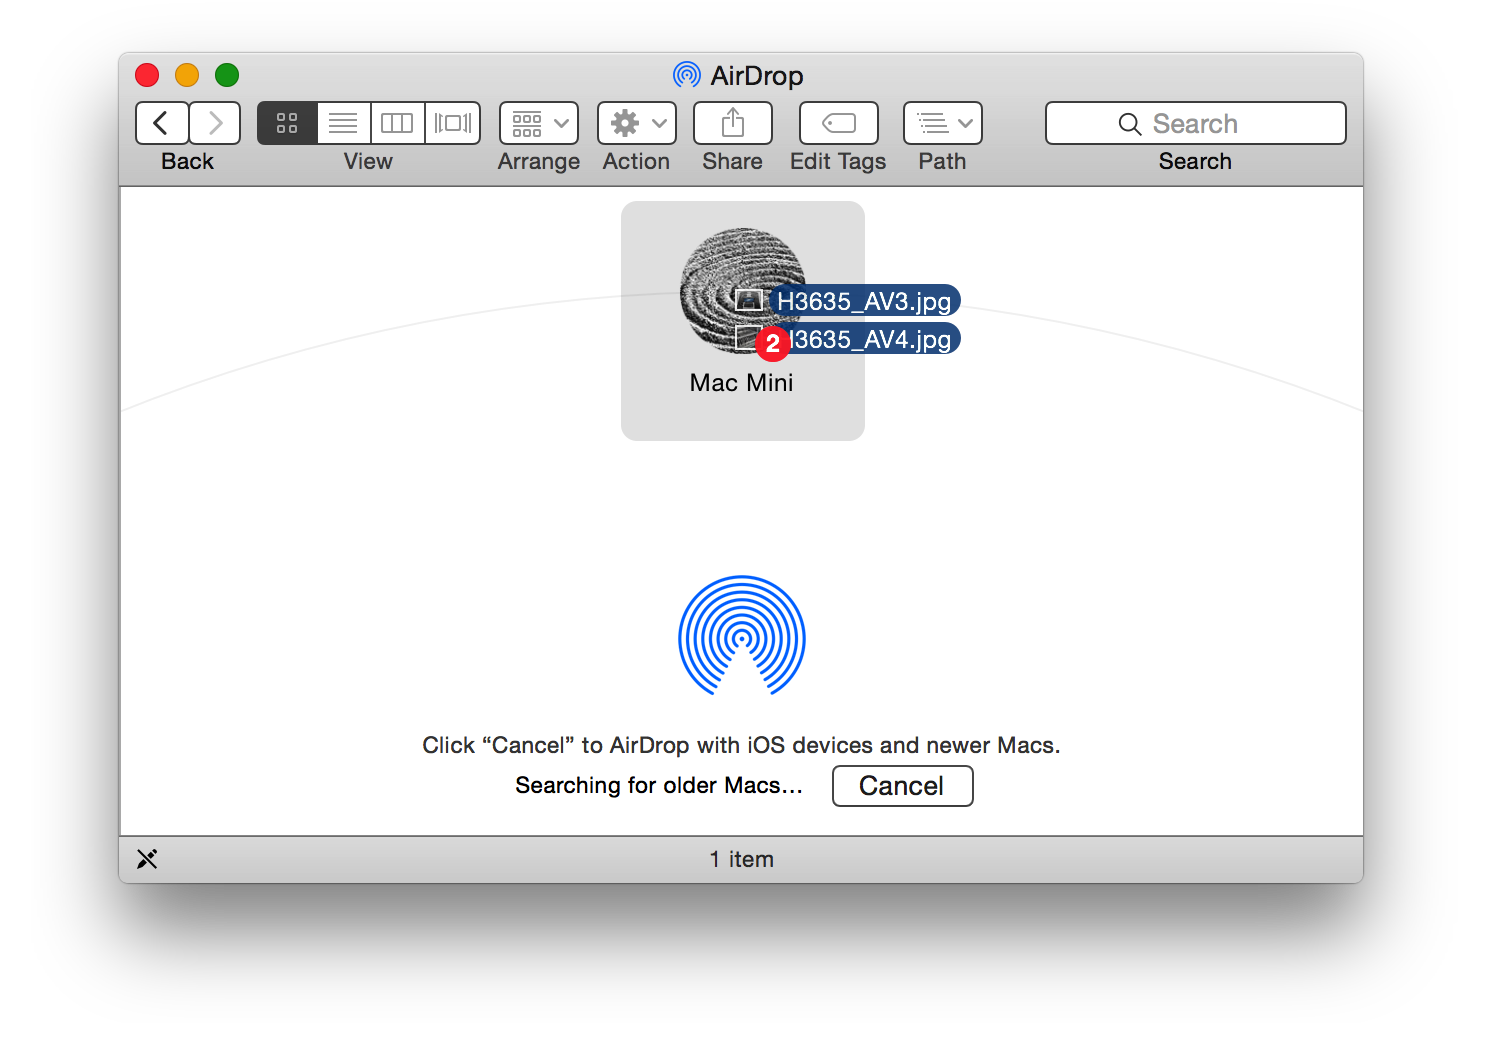
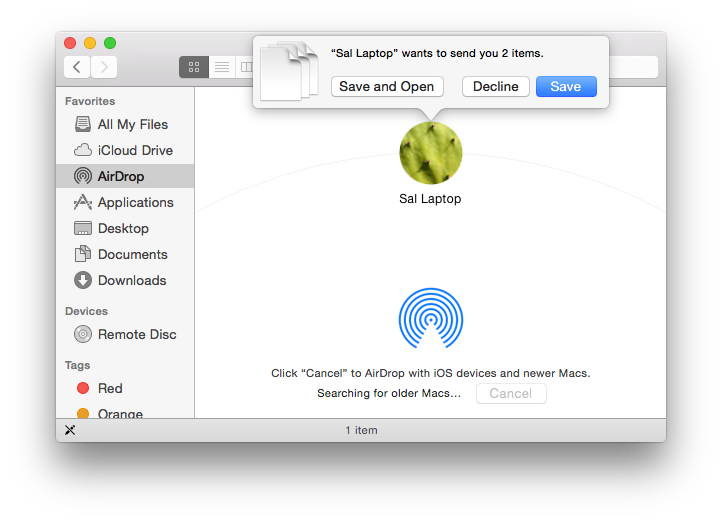
DO THIS ►To transfer image files via AirDrop from another Mac to the host computer, open a Finder window on the client computer with AirDrop selected in the window’s sidebar. Then drag and drop the image file to transfer onto the icon of the host computer that appears in the AirDrop window (⬇ see below )
Once the image files have been dropped onto the AirDrop user icon on the client computer, a transfer approval dialog will appear on the host computer. (⬇ see below ) Click the “Save” button in the dialog and the image files will be copied to the host computer and the Hot Folder will be triggered, resulting in the transfered images being added to the Photos library.
NOTE: If you plan to leave the host computer unattended and want to have all AirDrop notifications approved automatically, use the Auto-Accept AirDrop Applet linked from the sidebar. The applet requires Notification Center be active on the host computer.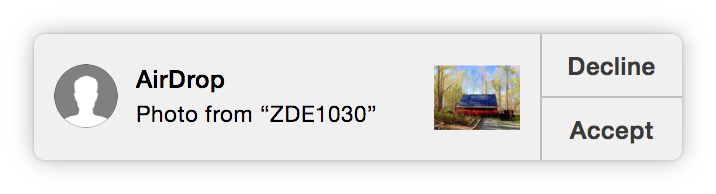
Copy to Public Folder
Image files can be transfered to the shared computer’s “Public” folder from other Macs connected to the shared network.
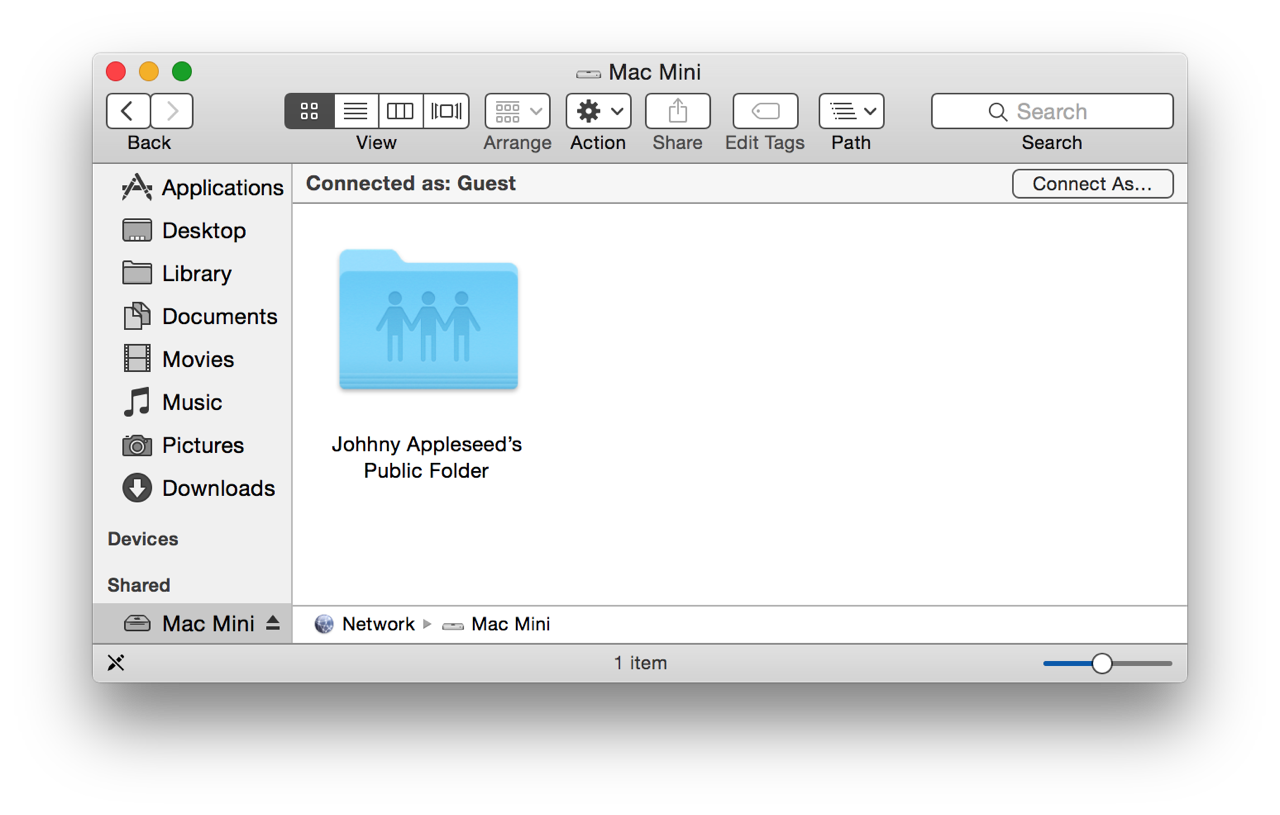
DO THIS ►Open a new Finder window and select the name of the host computer from the Shared section of the window sidebar. The host’s Public folder with now be displayed in the Finder window: (⬇ see below )
DO THIS ►Open the “Public” folder, and the Drop Box folder and any other items placed within the Public folder will be displayed. (⬇ see below )
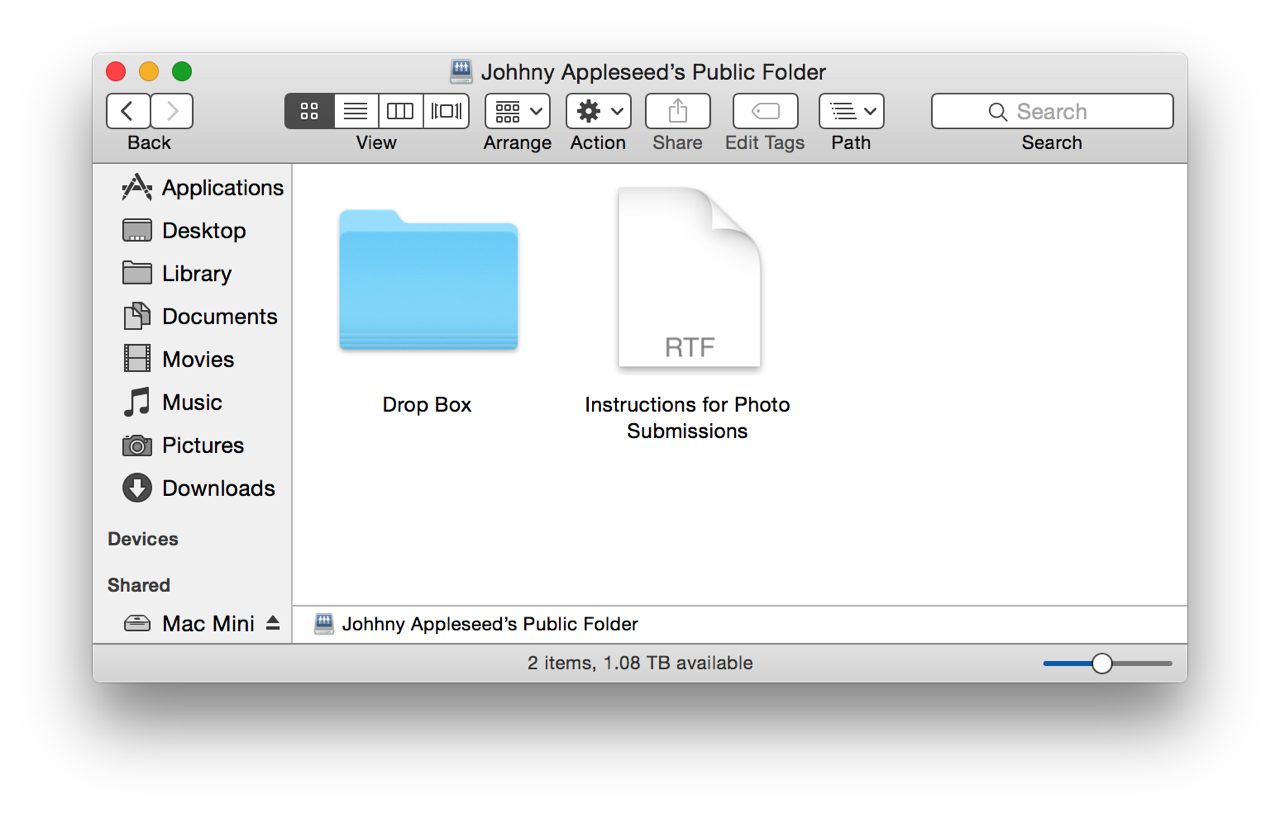
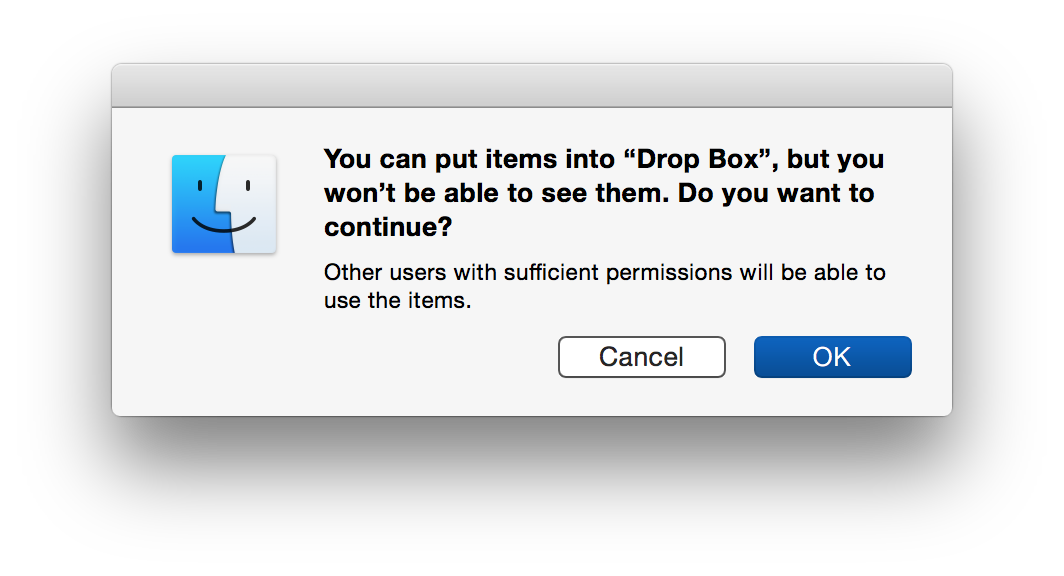
When you drag image files onto the Drop Box folder icon, the following confirmation dialog will appear (⬇ see below ) Approve the dialog and the dragged-on files will be copied to the host computer and added to its Photos library.
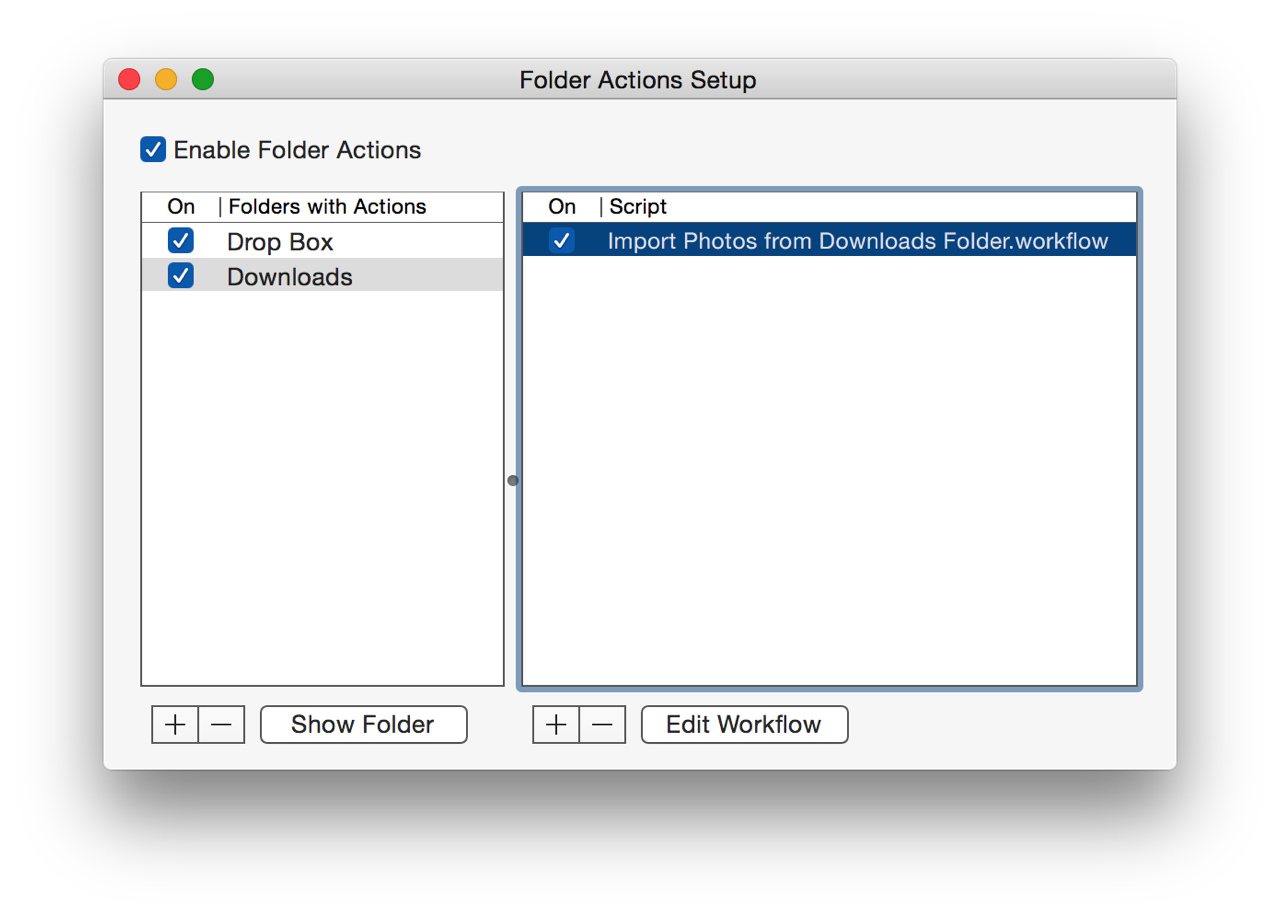
Managing Folder Actions
Should you need to disable or remove the folder action from the chosen folder, you can access the Folder Actions Setup Utility using the Finder’s contextual menu.
DO THIS ►Click and hold on the hot folder’s icon while holding down the Control key to summon the Finder’s contextual menu. Select Folder Actions Setup… from the services listed at the bottom of the menu. (⬇ see below )

The Folder Actions Setup Utility will launch and you can choose to disable or remove the folder action. (⬇ see below )